
The FOE (Fold Over Elastic) is attached and your knickers are now ready for part 4 of my knicker making mini series – the side seams. I have seen a couple of tutorials where the side seams are finished before the FOE is attached to the leg. Constructing your knickers this way is definitely a matter of personal choice and for me depends on firstly, the shape of the leg edge, the more shaping the easier it is to attach the FOE first and secondly the style of the knickers. I will be sharing a free pattern with you on the last post of this mini series where it is preferable to add the elastic after, mainly because there is no side seam.

I will continue to use the Megan Neilson Acicia pattern and a standard sewing machine, but will also be showing how to use an overlocker too if you would like.
Having posted on Instagram about my knicker making efforts and a couple of very interesting chats, I started to consider using different methods to finish off the side seams. My basic seam bulk reducing method has not changed but I managed to get over my “neat and tidy seams on the inside” mentality and am loving being a bit of a rogue by leaving a smidge of a raw edge and producing visible seams on the outside. I am going to show you four methods, two insides and two outside, but they are purely intended as a starting point for you to make the side seams your own. Two I love and two I need to play with a bit more to be really happy. I am going to start with the first step, however, which is the same for an inside or outside seam, sewing the side seams together.
Step one – Sewing the side seams together.
To start with a little tip to help control the curl of the fabric, use a spray starch or if you are not keen on starch, best press before you start sewing. Using either of these products will do two things. Firstly it will eliminate, most of, the pesky curling you get with jersey. Secondly it will add a bit of substance to your fabric giving your machine something more substantial to grip on to, especially as these are fairly small, narrow seams.
Another thing I have omitted to mention throughout all my posts is the power of steam. It is mind blowing how a blast of steam over slightly over stretched FOE (no need to even touch the fabric) will make it contract back in to shape.
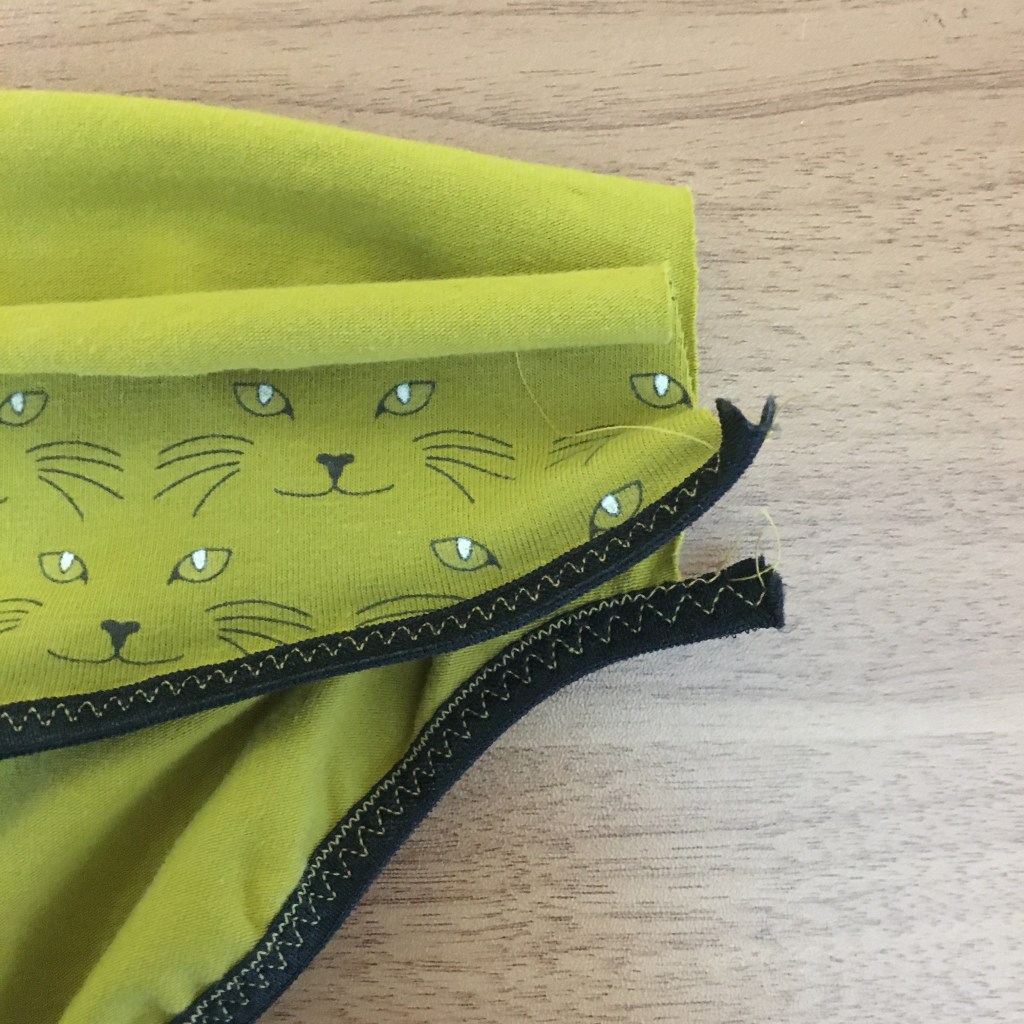
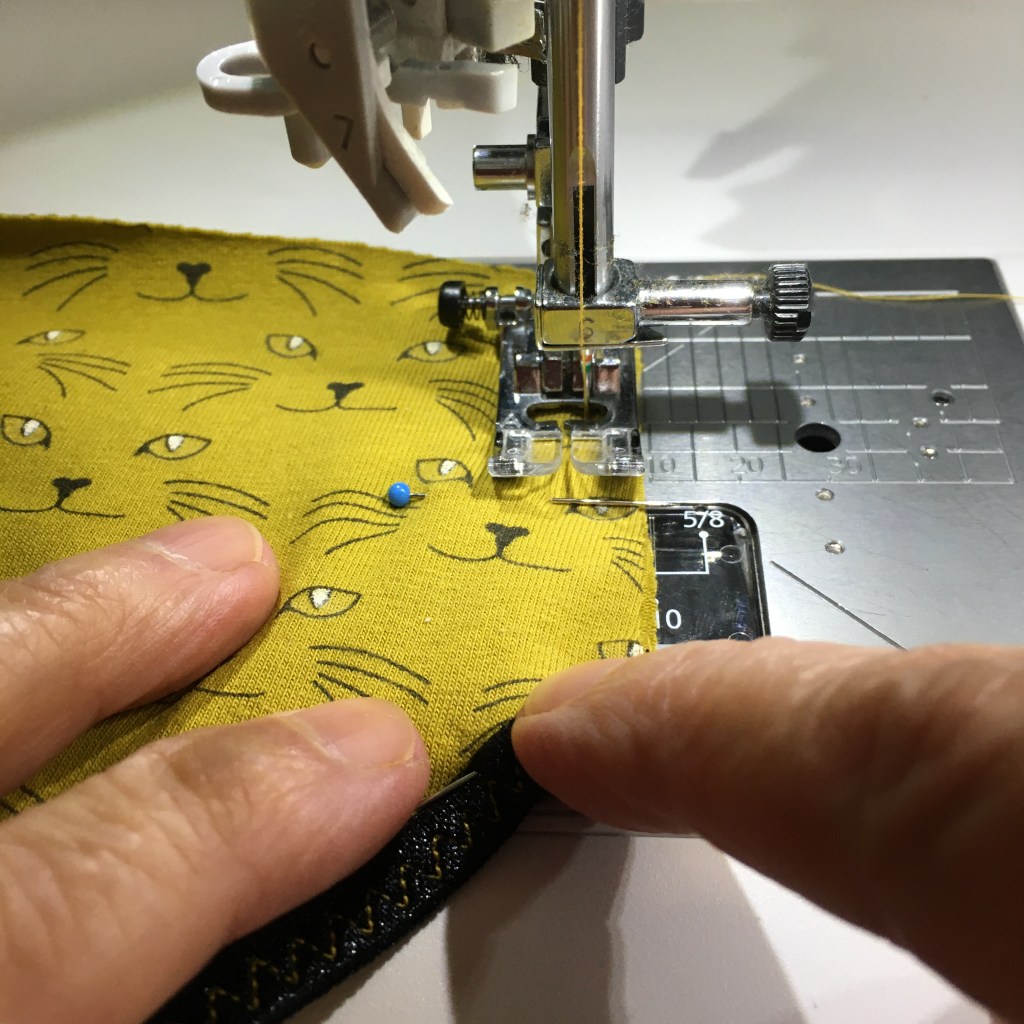
When we left the knickers we had just completed the FOE and had about 1 cm of FOE beyond the side seam. To make the next stage easier, trim the excess off so you have a straight edge. The aim for this seam is that the FOE matches at its outside edge, if it also matches on its inside edge that is a bonus. The issue with getting this seam to match is once again, as with the gusset pieces, the edges being a curve, so they will only match on the 1/4” seam line.
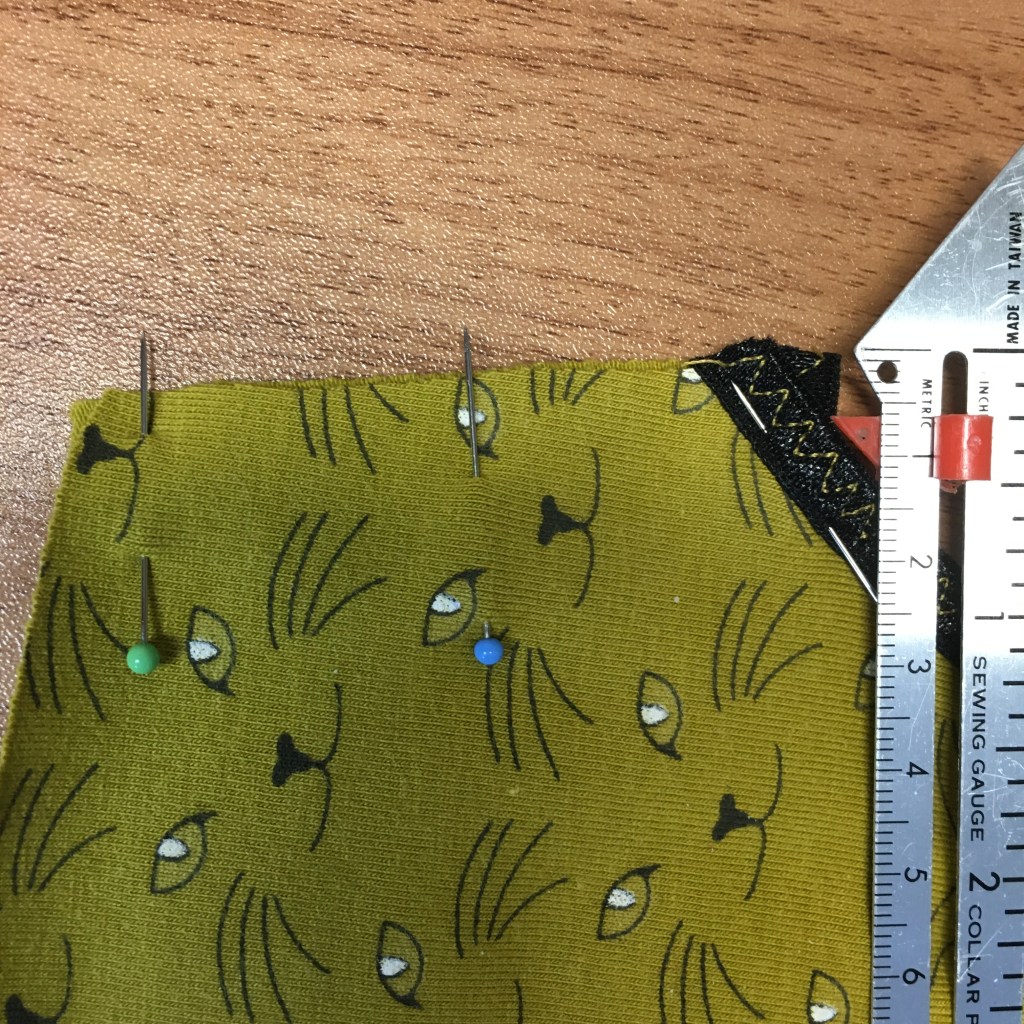
This is why I pin the seam at the FOE edge first then pin up to the waist. If the waist edges do not match it is not a problem and I will discuss the options to resolve this in the next post.
I have found that the best way of sewing the seam is from the waist down to the leg so that there is fabric for the feed dogs to grip when sewing over the thicker bulk of the FOE.
It is not the end of the day if the edges do not match, but it is just one of those things that gives me a happy feeling. Also, sometimes there may be a good reason why it will not match.
As with all the seams on these knickers the seam allowance is 1/4” and I am happy that this seam though more susceptible to being stretched when the knickers are being worn, is also done with a straight stitch. A straight stitch also gives me the accuracy to match the FOE at the leg edge. As always though if you feel safer with a narrow zig zag, just to eliminate the chance of the thread snapping, then do so. As this is a very short seam I always start with a back stitch to secure at the top, with the gusset seams I did not find it was necessary. When I get close to the FOE I will start double checking the alignment of the two edges.
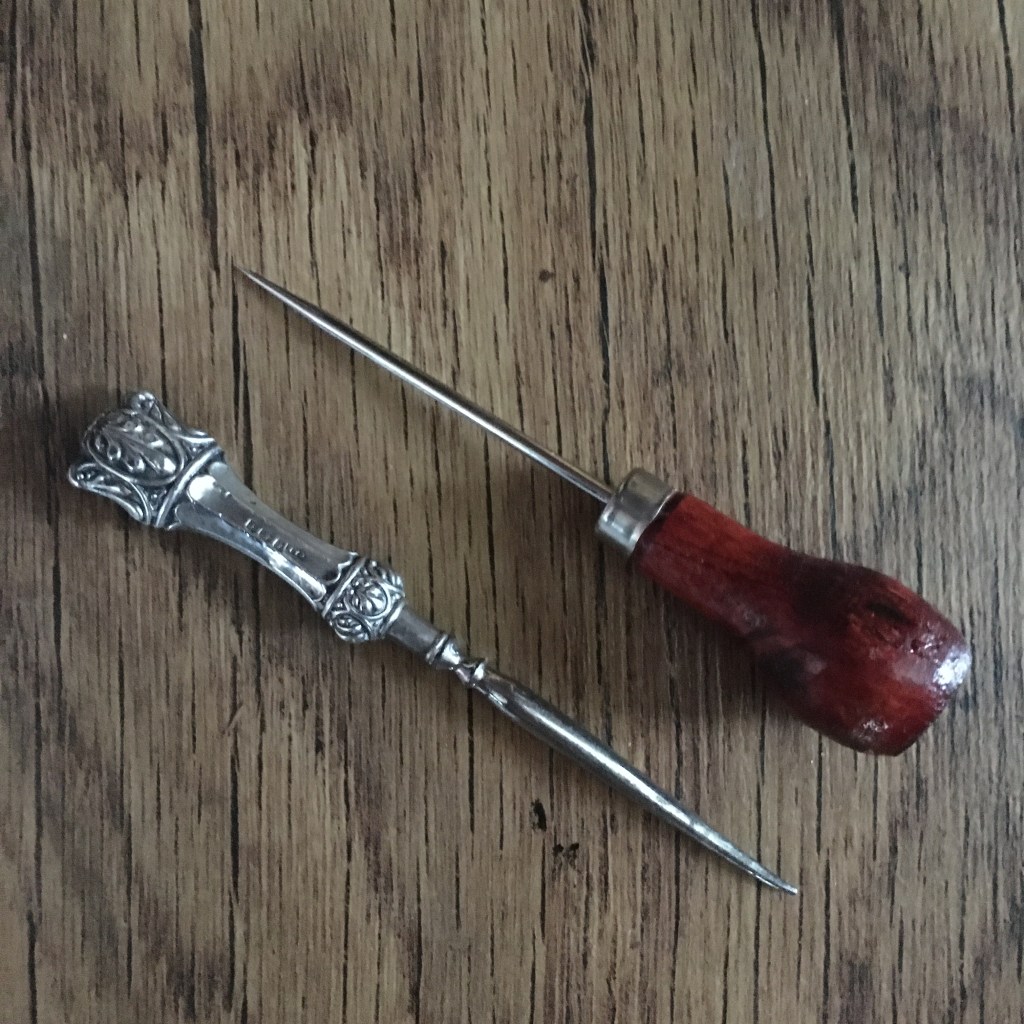
If you have an awl it will come in very handy when ensuring the FOE is in position. I have two awls in my collection, a silver Victorian awl with a thick, and bent, tip. I love this tool for two reason. One, it is over 100 years old and two, it came from my Aunty’s collection of bits. She didn’t sew and only had it because it was beautiful, I can totally understand that, but love that I get the chance to use it for it’s intended purpose too. The second awl I have is one I picked up in Singapore in 2019 for less than £1. This has a vicious point on it so is perfect for stabbing and holding fabric in place which the Victorian one is not that good at. It too has memories associated with it, don’t all the best sewing tools.
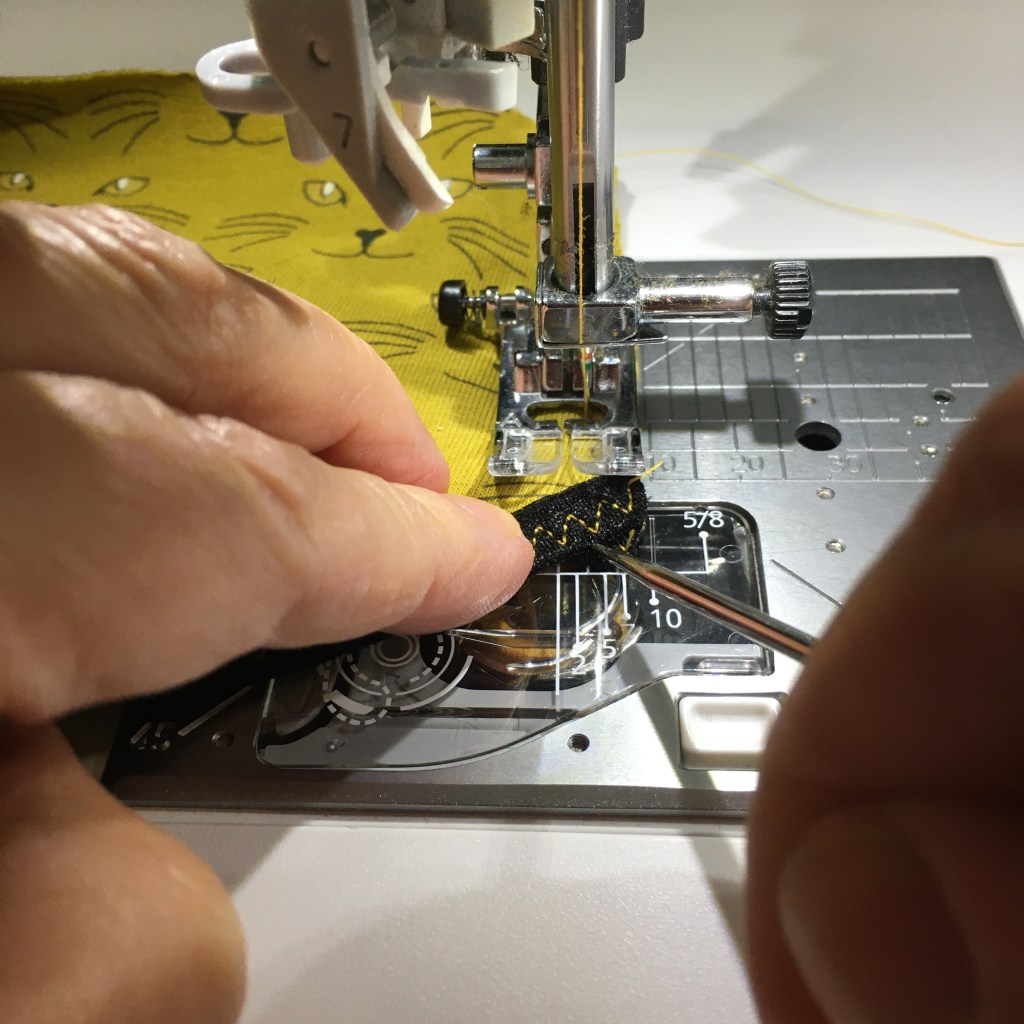
When you get close to the edge use your awl to secure the edges in place at the 1/4” mark. Sew up to the edge, with your last stitch going off the edge of the FOE. Back stitch, I like to back stitch to the top of foe and then stitch forward again to half way ish into the FOE. Take the stitching over the FOE slowly as the bulk in the seam may cause feed issues.

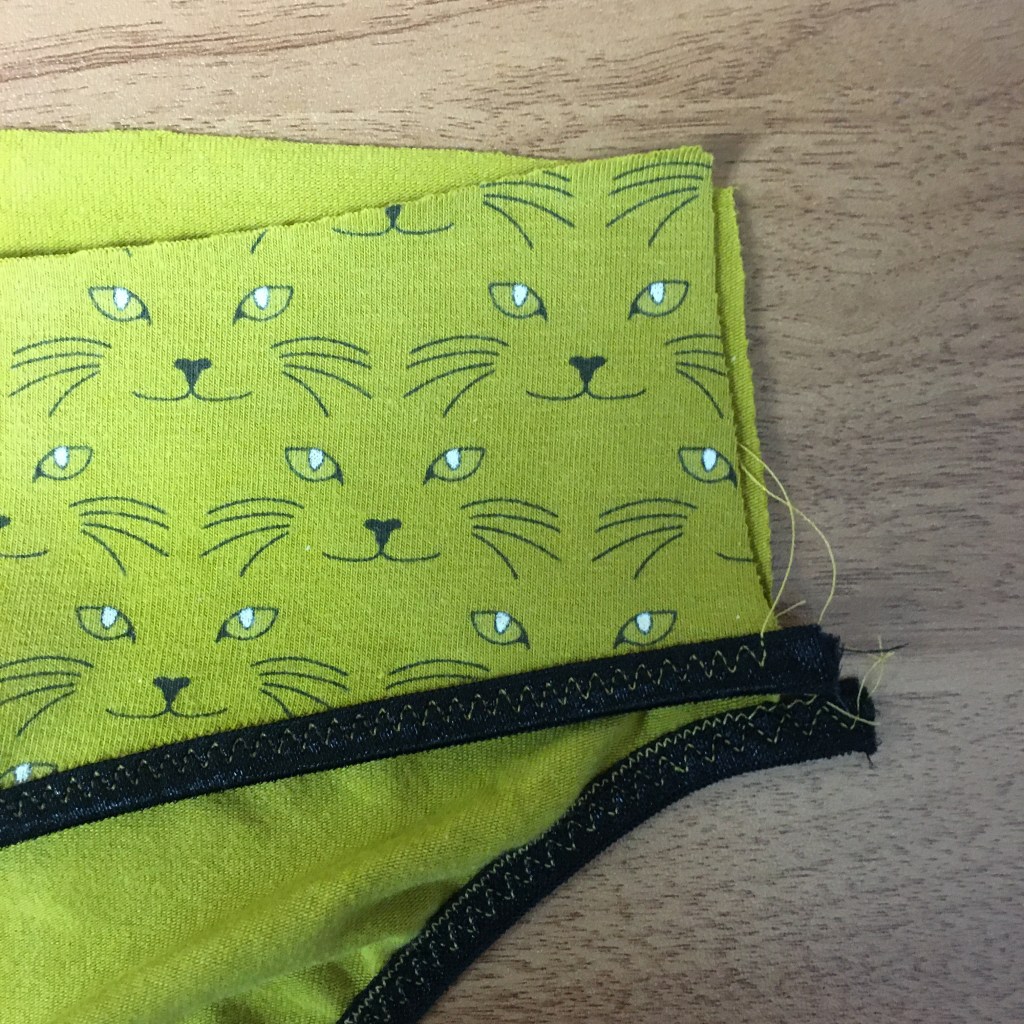
The side are now sewn and to prepare for the next stage we need to minimise the bulk of the seam. I personally like to trim the seam allowance from the back so that the front seam allowance will lay/flow to the back. Once again this is aesthetic but I will share with you an example on my final post when I purposely did it the other way round. I am quite brave here and do trim back the fabric in the seam allowance very close to the stitch line. However when I get to the FOE I become even more brave. As I have at least 2 rows of stitching on the FOE, I trim as close to the stitching as possible and even try to remove the thickness of the layers by trimming at an angle.
Finally press the seam allowance towards the back ensuring that the seam fold is open and smooth.
Stage 2 – Finishing off.
I am going to share with you 4 options for finishing off the side seams. They are methods I either use now, or am still playing with to perfect, but I believe that there are lots of options and tweaks to make these both do the job and look fantastic. As always I would recommend trying everything out before attacking your knickers.
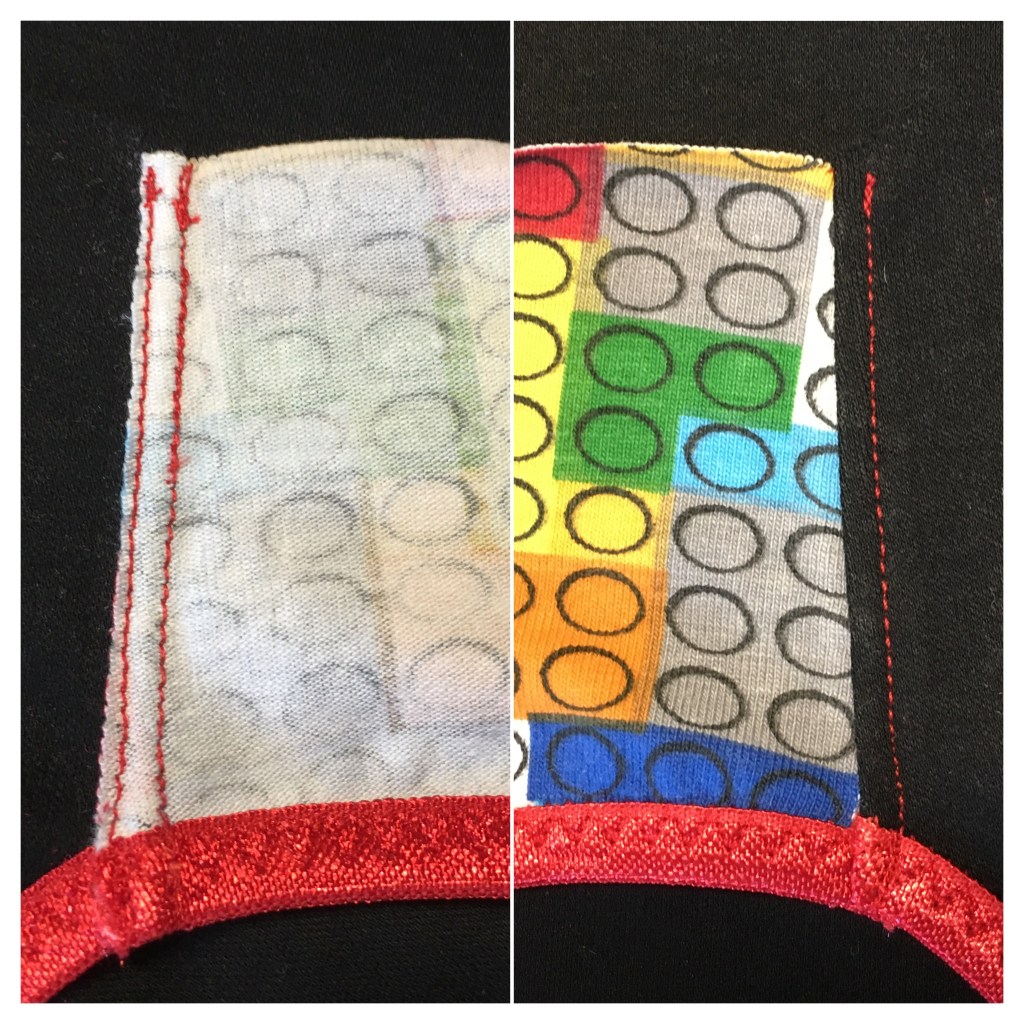
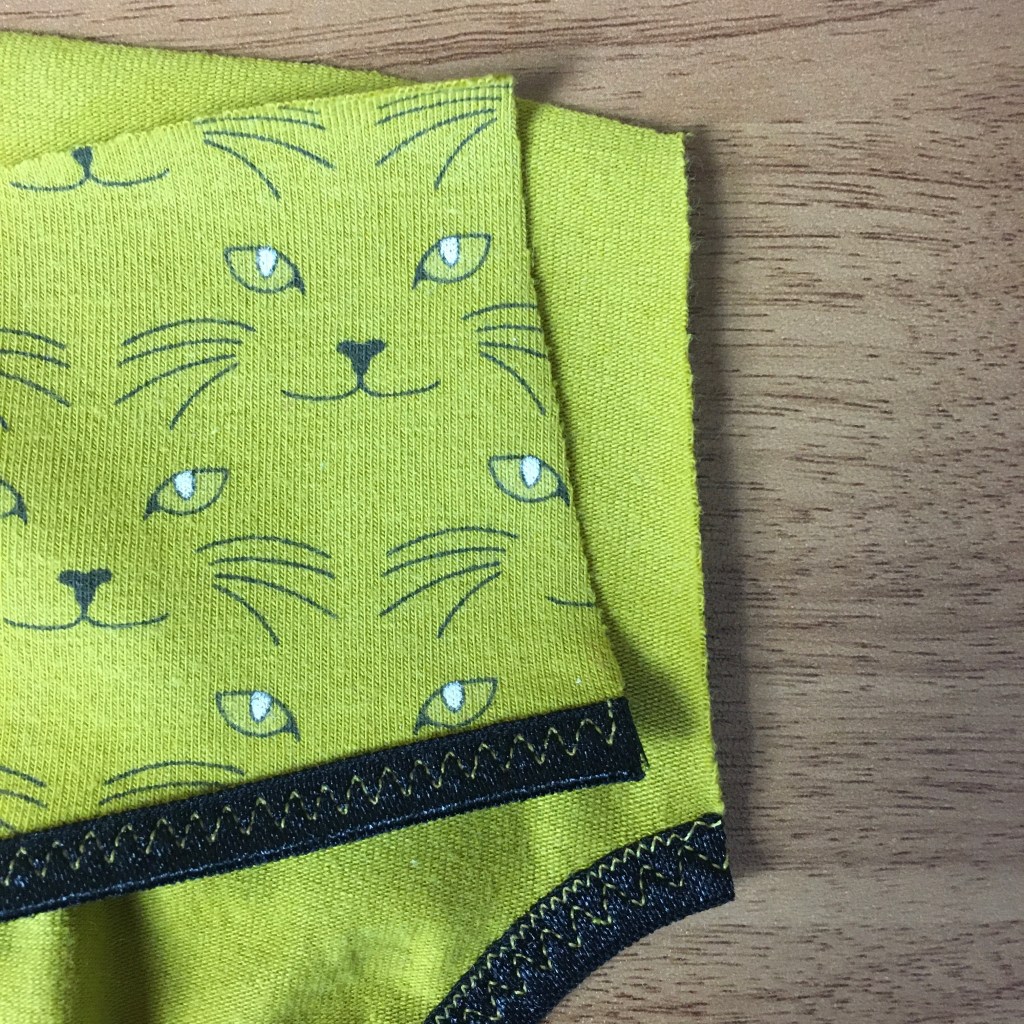
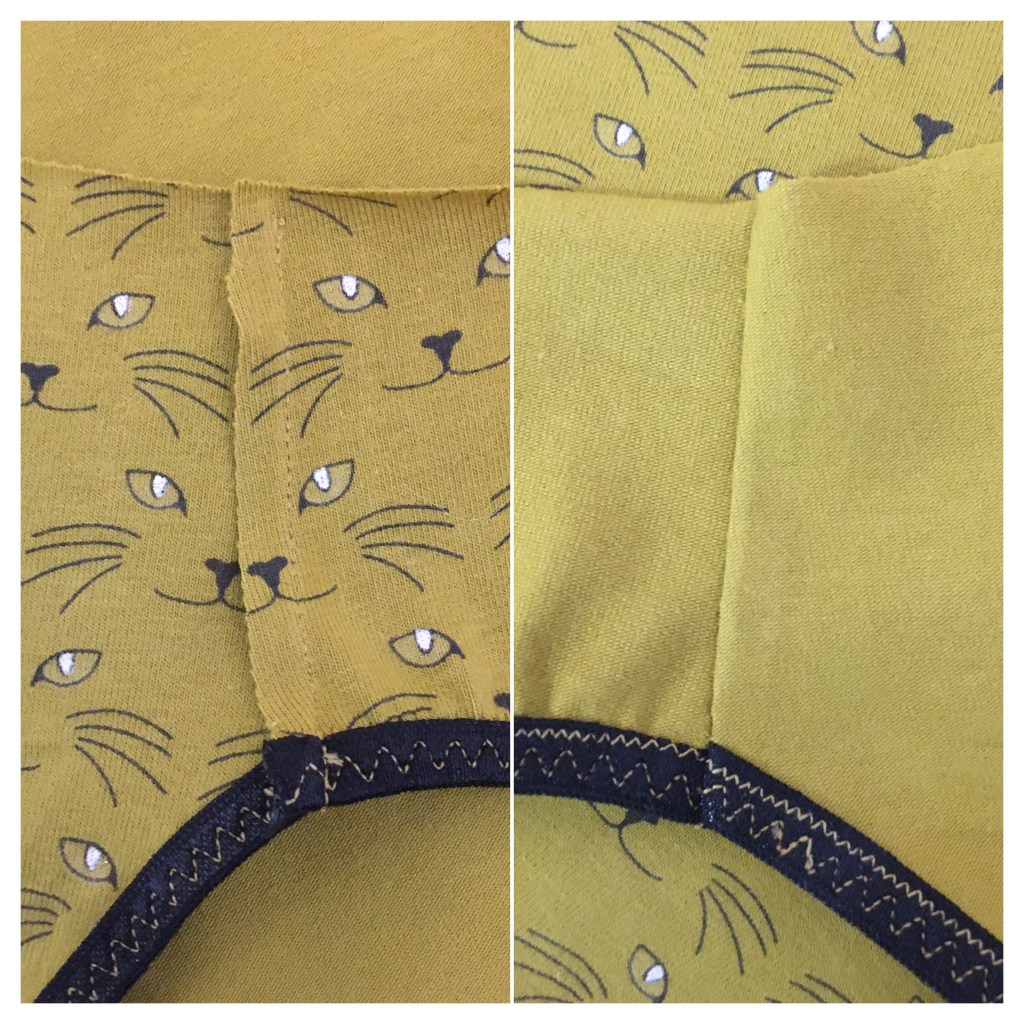
Starting off with the most simple and my preferred quick method of finishing the side seam. This is the method I would use on an inside seams and is a simple straight stitch to top stitch/hold the seam allowance in place. As with all these seams, I sew from the top edge and you can use your awl to keep the edge of the FOE in place again. Make one stitch over the edge and then back stitch past the top of the FOE and stitch down 1/2 way ish again. Once the seam is finished, trim the fabric close to the stitch line.
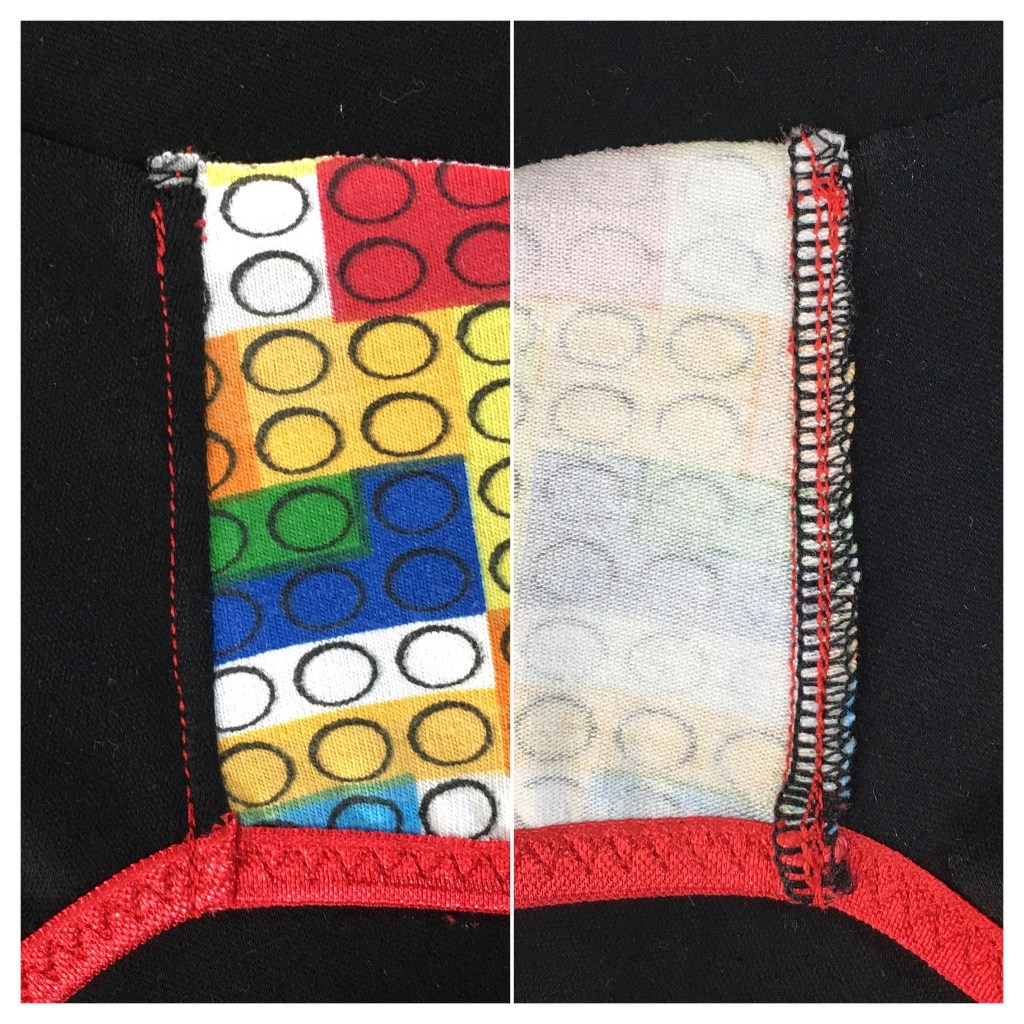
Option number 2 involves overlocking the raw edge on the inside before top stitching. To be brutally honest I don’t think this is worth the time or effort in normal circumstances. It is hard to get this finish neat and precise but there may be occasions when it is perfect. If you are using a fabric that frays then option 1 may not be suitable. The pattern you are using may have a larger seam allowance than the 1/4″ on the Acacia, or if you want to use this method add a larger seam allowance when you cut the pattern out. This will make it easier to get this seam finish neater. When you overlock, not only are you finishing the raw edge but also adding one or two rows of stitching which will give you a very strong seam. The one thing that I think makes this looks slightly worse to me, was using the red thread in the right overlocker needle. The topstitching may only be 2mm out at the top but looks messy.
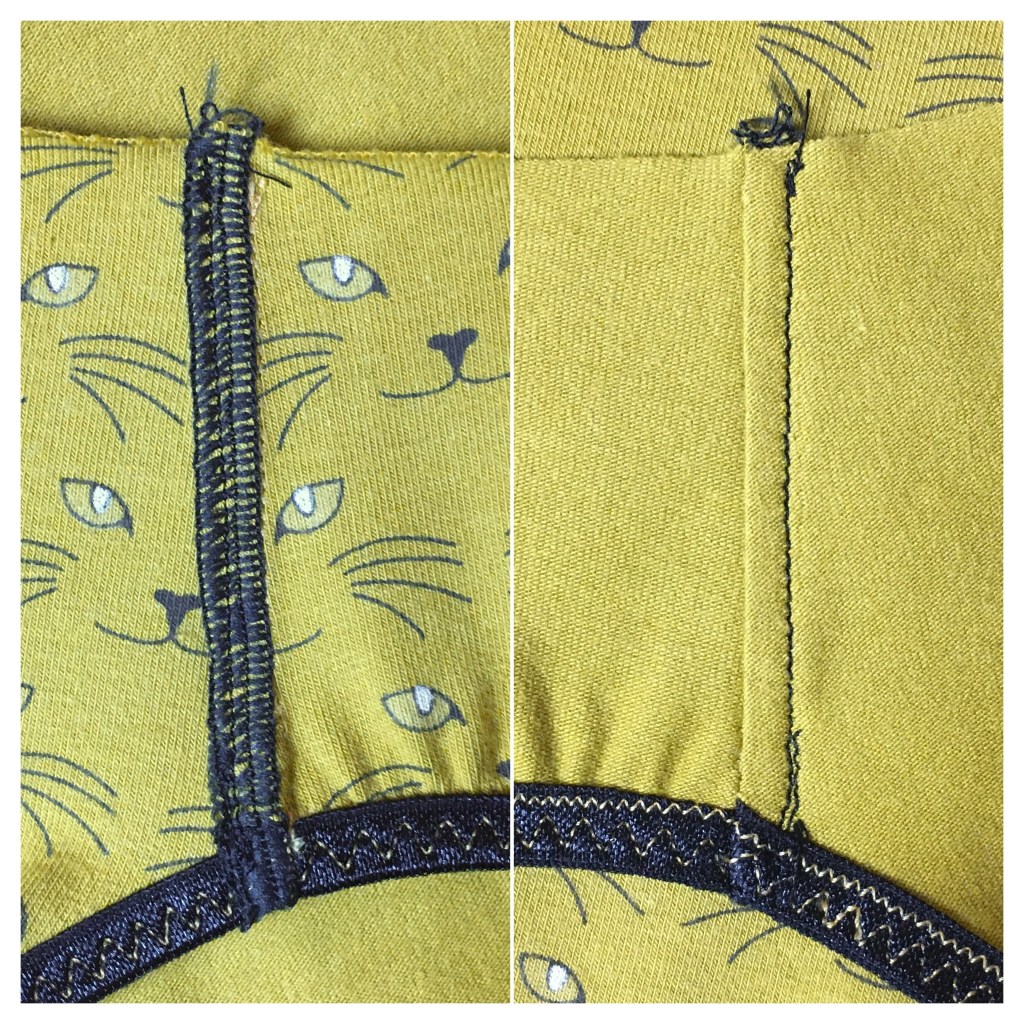
Option number 3 is the same as number 2 except for two things, the seam allowance is on the outside, this will make a smoother and more comfortable seam against your skin, and unlike the inside version I LOVE IT. As this is a feature seam you have to opportunity to play with coloured threads, types of threads and stitch length on the overlocker. For this example, as I have used a contrasting FOE, I have matched it in a woolly nylon and with the shortest stitch on the overlocker. Originally I top stitched with the contrasting colour so the stitching could be seen but I thought it lost something. So I replaced it with black thread and I think I am going to use this method a lot more.
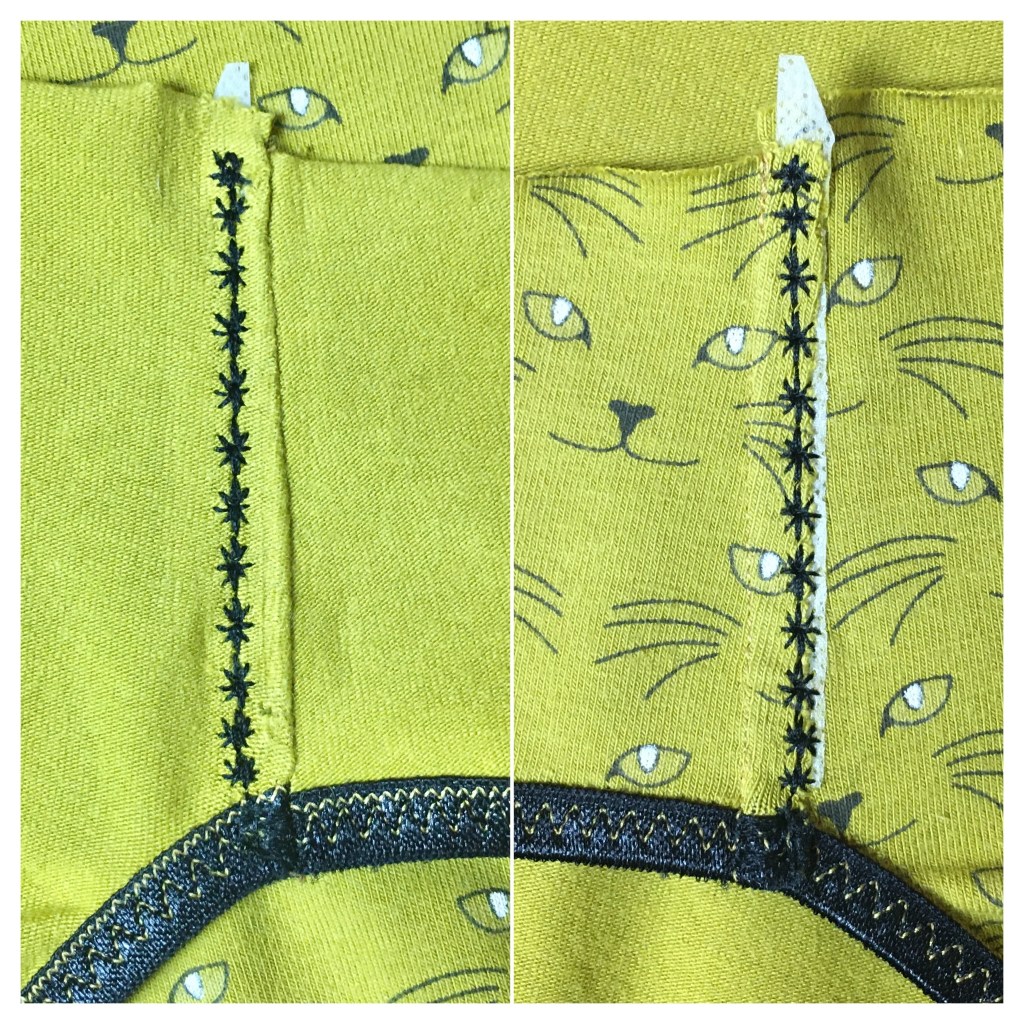
Option 4, is another method with the seam allowance on the outside and uses a decorative stitch. Once again, as this would be a feature seam, you could play with colour as well as patterns. However, I did have a few issues as this is such a short narrow seam. Initially I used a decorative stitch but in a matching thread. The resulting seam was fine as it was virtually invisible, but nothing really worth the effort. I decided to unpick the stitching, yes I honestly decided to unpick decorative stitching on jersey and if you look closely you can see the holes, and use a contrasting colour to make it more of a statement. I think the biggest problem with using a decorative stitch is the movement of the fabric while stitching. To help stabilise the fabric I added soluble quilters tape and this made it a lot easier. However, I struggled keeping the stitching straight to the seam, I couldn’t see the seam line as it was it a matching thread, and close up and on the reverse it looks a little messy. So the jury is still out if this is something I would do any time again soon. But saying that, if my daughter wanted a row of bunnies or stars or anything else for that matter, down the side seam of her knickers I would do it.
So the side seams are done, your brain is full of loads of different things you want to try out but, these knickers need finishing first.
Next up: the waist elastic.
