
(but this blog will most probably apply to most machines‘ binder attachments)
The new binder attachments available for the Juki MCS cover stitch machine have done two things. First of all they have given me an alternative finish for my makes and secondly they have given me yet another use for my cover stitch machine. The usual con argument for cover stitch machines is that they can only be used for hemming, not any more.

When I started this blog I envisaged it being a fairly hefty tome with my normal technical details. But as I have been going through the ins and outs of setting the binder up and making samples, I have struggled to make the binder go wrong over and above the basic setup parameters. So straightforward and simple it will be.
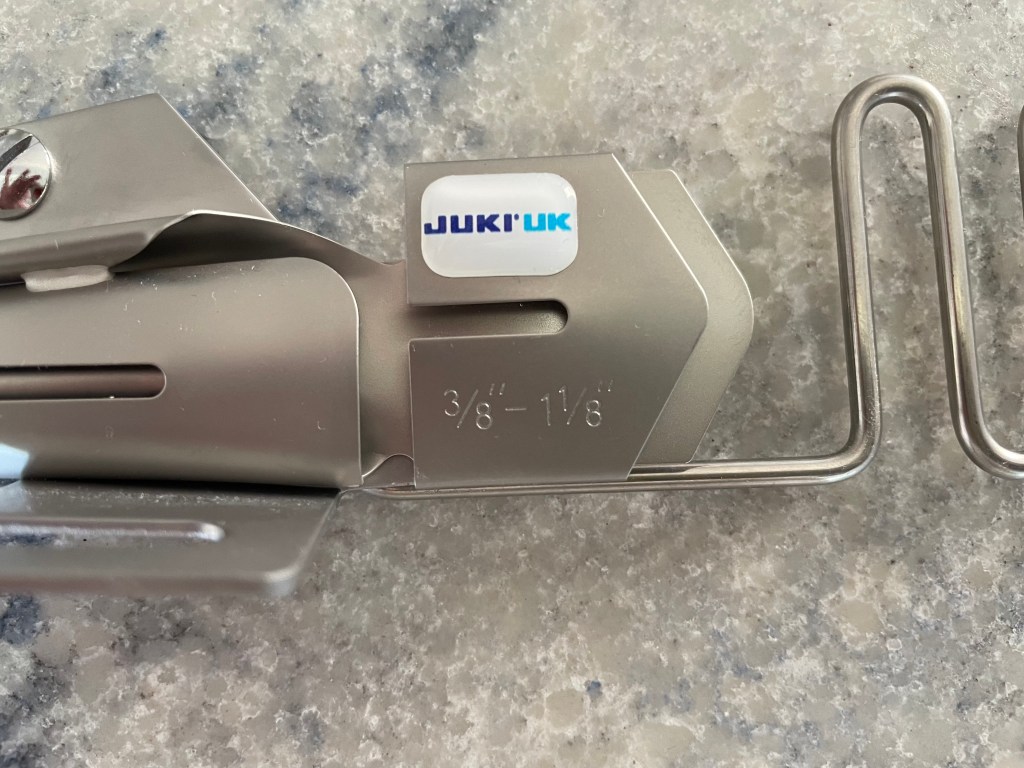
There are currently two Juki binder attachments available, a single fold and a double fold. This refers to the number of folds at the back as both will do a double fold at the front. Initially I thought which one I used was purely down to whether I was using jersey or woven fabric, but this is not the case. To simplify things I would say the thickness of the fabric will determine your choice. If you have a medium or lighter weight fabric you will need to use the double fold binder, the fabric will struggle to be fed through the single fold attachment. For thicker, more stable fabric, use the single fold.

The binders themselves provide all the information needed to prepare your fabric strips. For the single fold the final binding will be 3/8” in width and you will need to cut a 1 1/8” strip of fabric across the width of your fabric. For the double fold the final binding will be 1/2” in width and you will need to cut a 1 3/4” strip of fabric across the width.

Normally, when we think of binding, we think of bias binding cut from woven fabric. This is cut on the bias to give the binding stretch, so that it can be manipulated to sit flat on curves. As knitted fabric has an inherent stretch along its width (and occasionally along its length) there is no need to cut on the bias. Also, cutting along the width of the fabric is far more economical then cutting on the bias.

Another consideration with using a binder attachment is that the binding strip needs to be a single piece, no joins. This means you are restricted to the length that can be bound by the width of the fabric. However, as knitted fabric is created by knitting in the round and then cut for sale you may be able to source a tube of fabric and cut a much longer piece by adding a slight angle to your strips, which will not cause you any problems at all.
As a rule you will need a strip the length of the edge to be bound plus 4“/10cm, which is needed to set and check the binding under the foot before you introduce the main fabric. I have, however, worked with slightly less as the binding, especially if you are feeding more than one piece on to one strip of binding, does not need to extend past the fabric and can finish inside the seam allowance as this will be trimmed and finished when the garment is constructed.

Setting up the binder
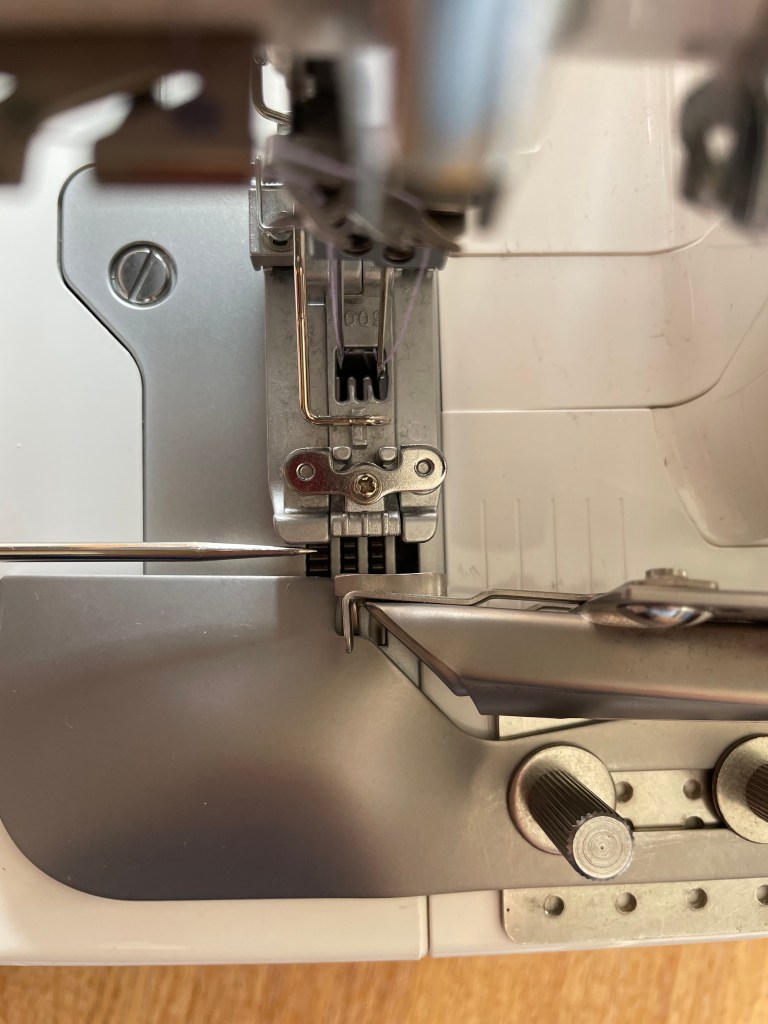
There are two main positioning considerations to be taken when attaching the binder to your cover stitch machine. The first, edge of the binder to the edge of the foot and secondly, the gap between the end of the foot and the binder
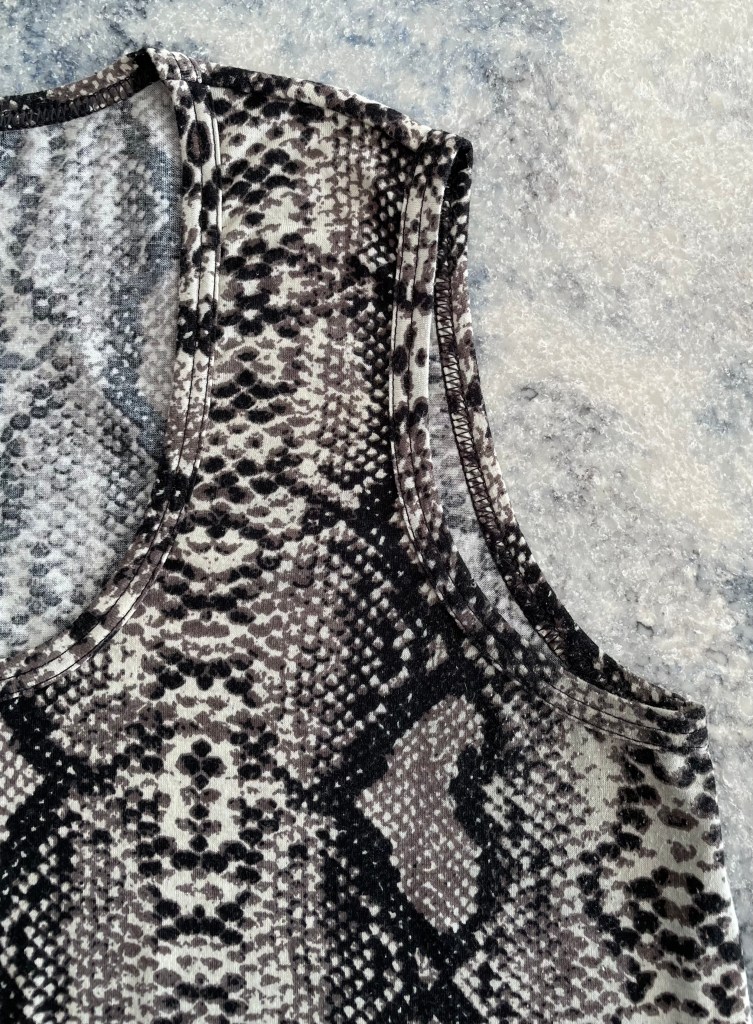
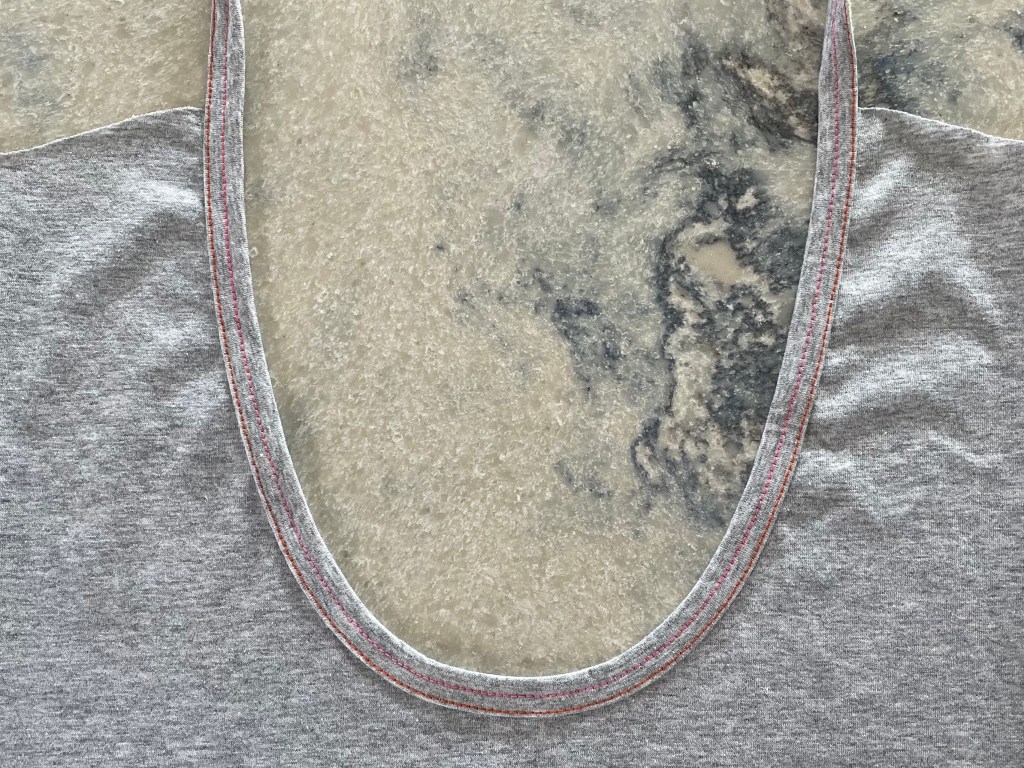
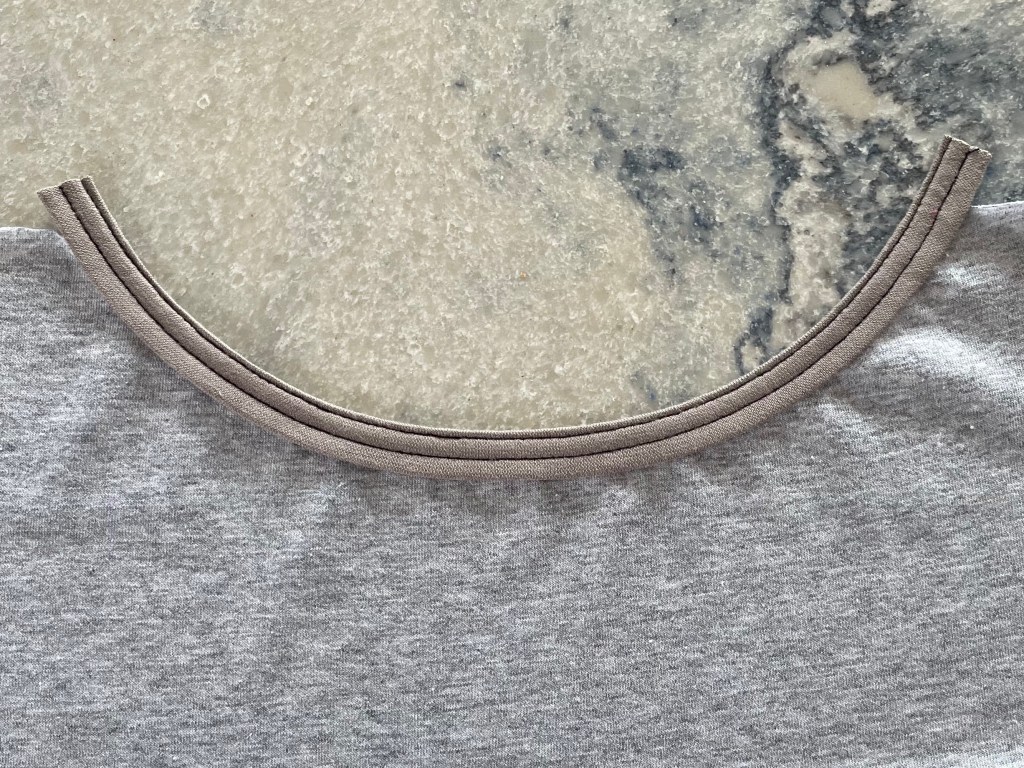
The distance between the edge of the binder to the edge of the foot will determine how close the stitching is to the fold of the binding on the front and whether the fold on the back is either fully or partially covered. Personally I prefer the stitching close to the edge at the front so that the fold on the back is completely covered by the stitching as I feel this is the neatest visually.


My starting point for setting up the binder attachment is to align the edge of the binder feed with the edge of the foot. As with all sewing the exact position will depend on the thickness of the fabric, so I will run through a test binding and adjust the binding attachment left or right as necessary.
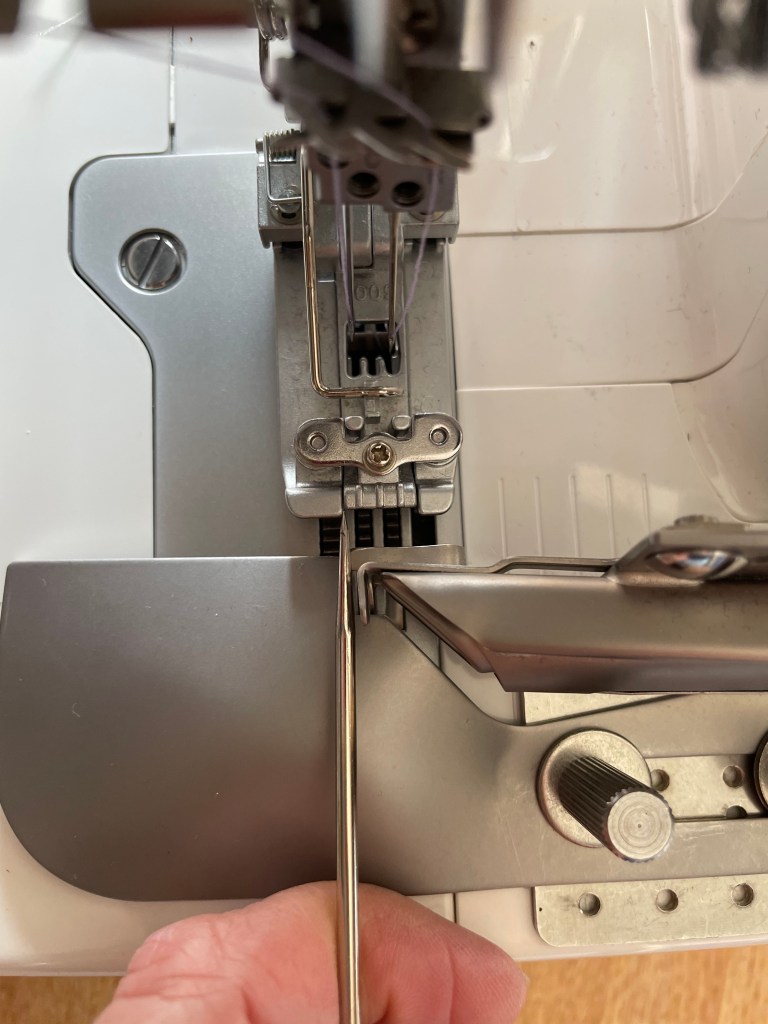
The binding attachment also needs to be positioned so it is parallel to the foot to ensure the fabric is fed evenly under the foot. If the binder is tilted towards the foot the binding can bunch up and not feed through smoothly.
As for feeding the binding strip into the binder, I have found this to be the best set up for me.

Winding the binding around a toilet roll (believe it or not cheaper toilet rolls work better than the heavier posh ones) and sitting it on a kitchen roll holder, lifted up so that it feeds straight in to the binder, gives me even and smooth trouble free binding.

And finally, here is a quick video on how to set up the binder when you first receive it along with the binder in action.
Hope this has all made sense and as always, happy to answer any questions you may have.
