
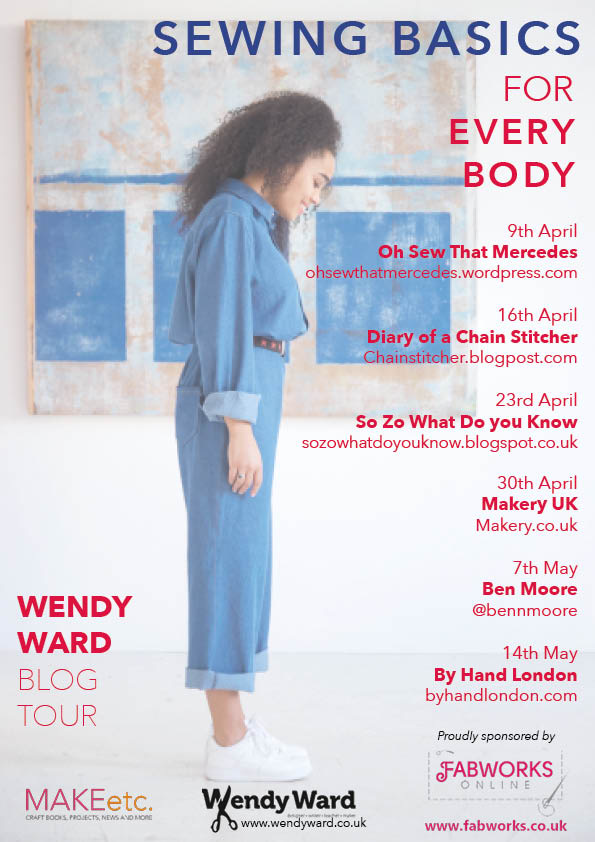
To say I was delighted to be part of CICOBooks Blog Tour for Wendy Ward’s latest book “Sewing Basics for Every Body”, is a bit of an understatement. As I have said before, I credit Wendy for my love of stretch fabrics after joining a “sew your own leggings” day at her old sewing school in Brighton. So, immediately I thought I would construct one of the patterns from her book in stretch fabric and sat down with a cup of Yorkshire Gold to decide which one I was going to make my own.
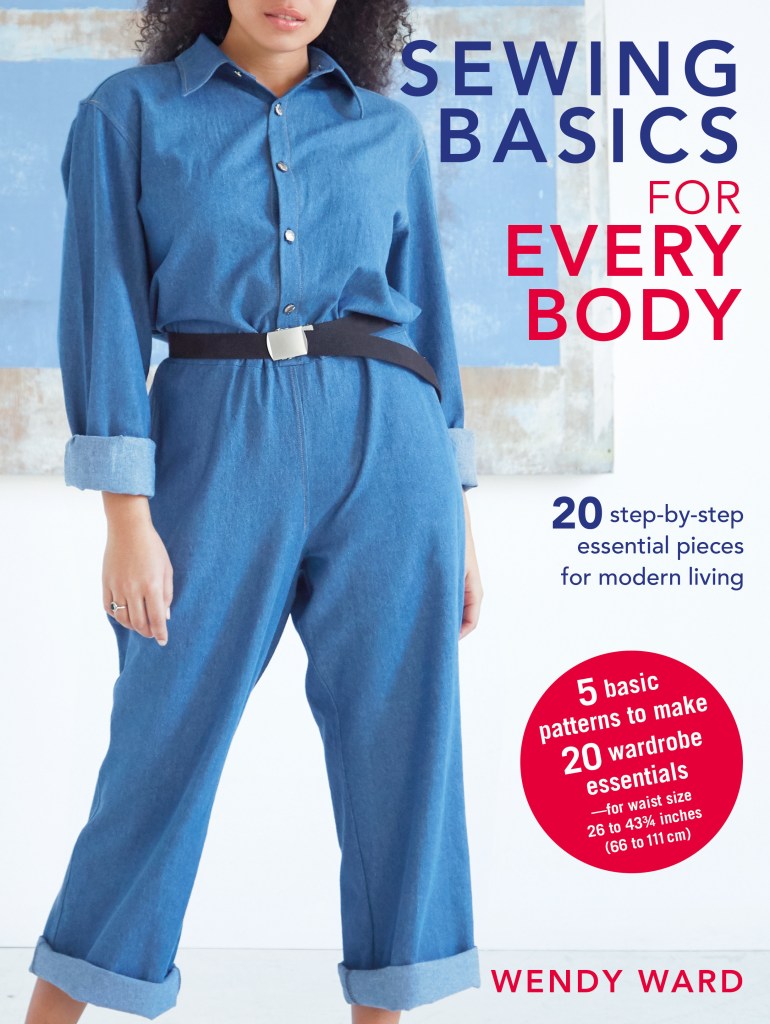
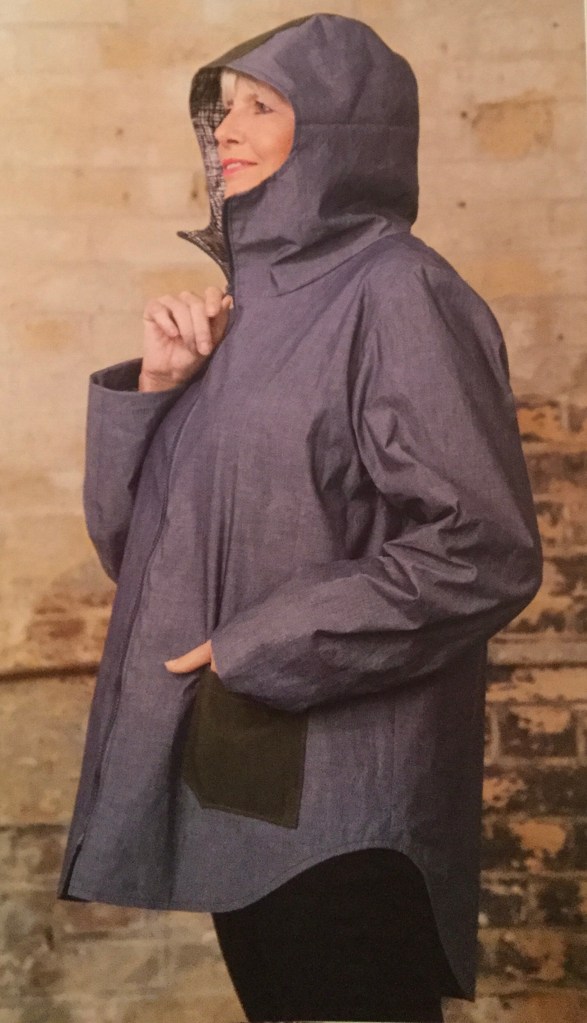
I don’t know if this has happened to you, but has something ever caught your eye and when you have had a second look you’ve realised the reality is not what you thought you saw. Well, this is what happened to me when flicking through Wendy’s book. I saw the Dylan Coat Hooded Anorak picture and thought it was a hooded sweatshirt and I was sold. I loved the lining and the hem shaping, though I only wanted a short zip. I also didn’t want the patch pockets, I wanted them in seam and I wanted a gathered/drawstring waist.
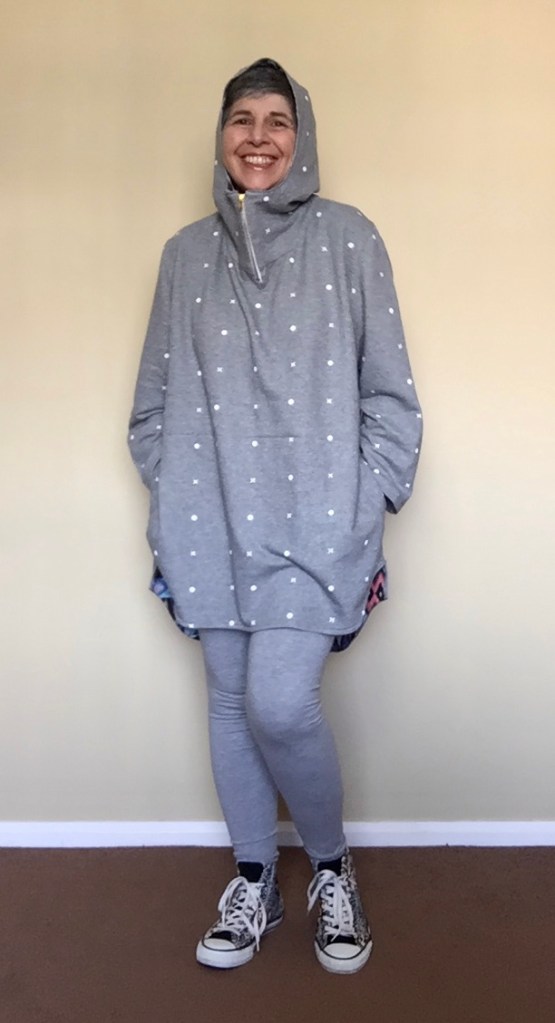
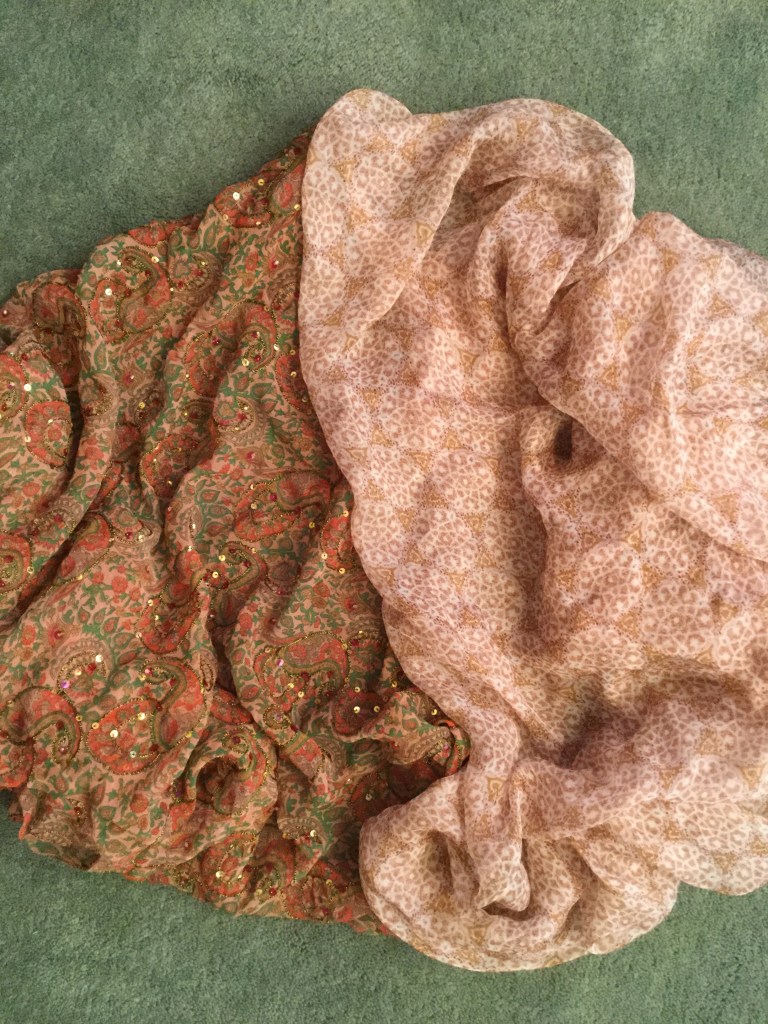
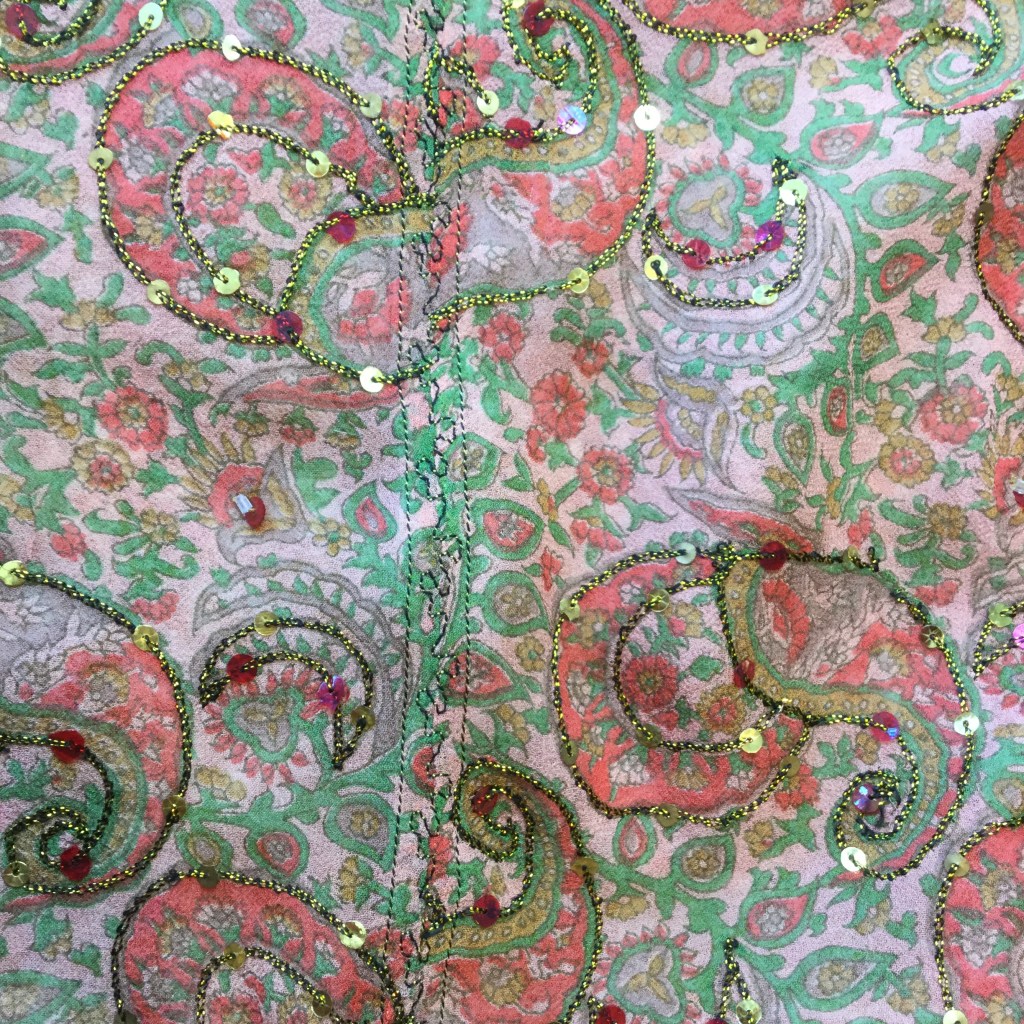
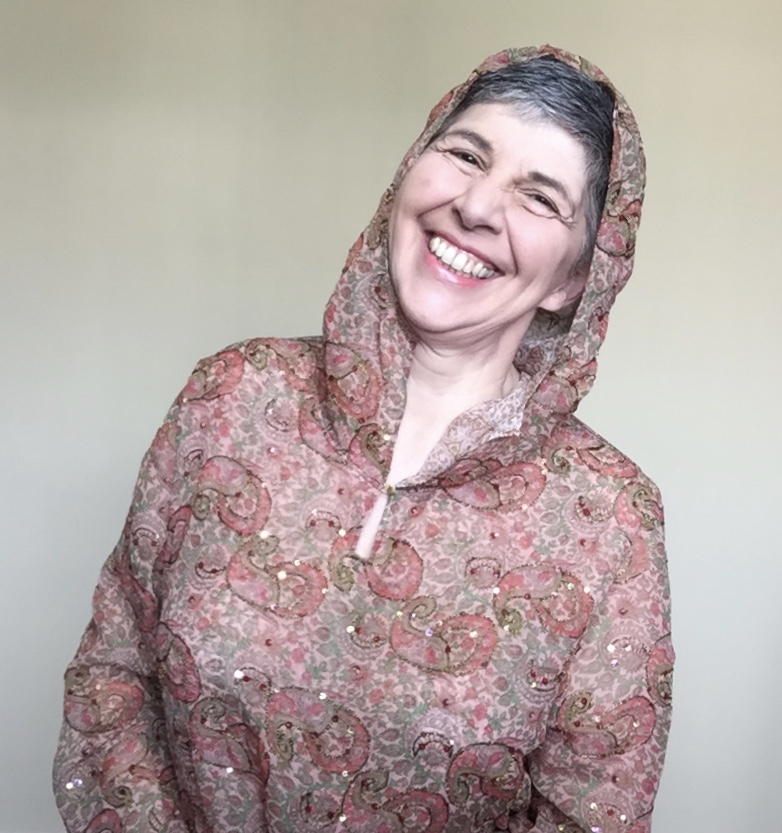
So I started planning, working out how I was going to add the in-seam pockets with the lining, how I was going to gather the waist, how best to sew it together. I even made a toile I was so excited about the project and I will write a post on some of the techniques I used soon. Then I was told that the lovely people at Fabworks Mill Shop were providing the fabric for the project and my “This is what I am doing” turned in to “Wow, making it in this fabric would be amazing”. And so it happened, my wear every day slouchy hooded sweatshirt turned in to a Silk Chiffon Hooded Summer Dress.

Unlike my Sewing Bee bestie, Leah, I am not a regular sewer of the more challenging fabrics, so this was going to be a lot different to what I was used to, which was good. I still wanted to keep some of the features from my original idea. I was still going to line it, though due to the see through nature of the fabric where my hoodie was only lined to the waist I decided the whole body needed to be lined. I also didn’t want to use normal lining so decided to line it in another silk chiffon. I still wanted pockets but putting them in the side seam, where in the sweatshirt it mean’t that they were hidden, they would show through the fabric and look untidy. So I decided that they would become patch pockets again. The zip went as I didn’t want the weight of it in the garment, so I would add buttons and instead of adding a channel in the garment to gather it at the waist, as in the sweatshirt, I would just wear a belt. Design was now sorted, now to work out how to put it all together.
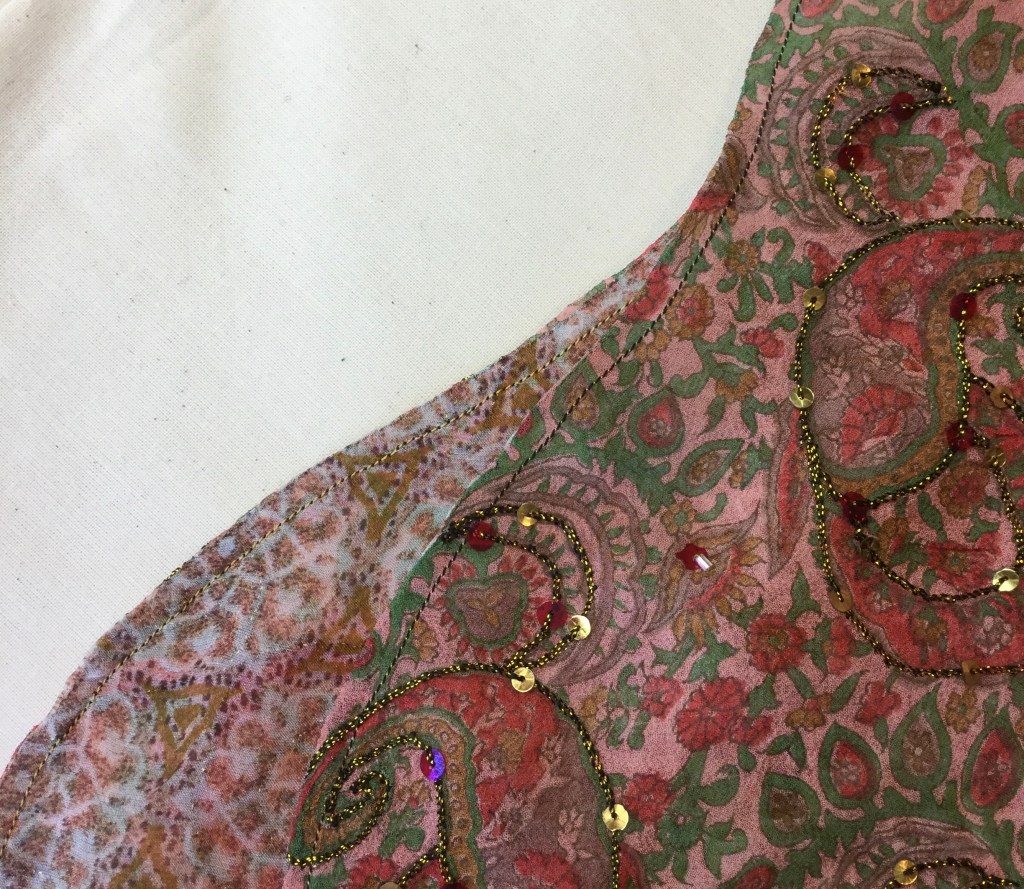
As I was working with Silk chiffon I decided there was no choice as far as the seams were concerned they had to be French seams. I had done a little practice with the fabric and had joined the main fabric and lining and had loved how it had looked. When creating the French Seam I did have the issue that the seam allowance on the pattern was 1cm so my sewing needed to be very accurate. This was when I had the idea to join the front and back pieces to their linings separately, as if underlining with Hong Kong seams but without any seam allowances, and then join the side and shoulder seams as a butt seam or linen seam using a decorative stitch. I may live to regret this decision but I had to try.


From my toile I had already realised that I needed to cut out a size smaller as I would not need the ease given to an outerwear garment. I was also wondering as I was using silk instead of loop-backed sweatshirting whether I should replace the two piece sleeve with a one piece. I decided as I wasn’t sure I would stick with the two piece and see how it worked out.
Working with the silk chiffon was not as terrifying as I thought it would be. I read a lot of information on how to work with tricky fabrics before I started. I placed tissue paper on my cutting board, used masking tape to stick the selvedge of the fabric in place and cut out my pattern pieces from a single layer of fabric. However, I think the most useful thing I did was using spray starch to add body to each piece before I started sewing.
Following on from the theme of Wendy’s MIYMarch this year – Sustainable Sewing – I think the slow sewing aspect was achieved in spade loads with this garment. I took every stage slowly, thought every stage through and was never in a hurry to finish anything. Silk chiffon is not a forgiving beast so I needed to get things right first time. However, I found the fabric from Fabwork Mills did allow for a few mistakes and some “not recommended” sewing procedures. I was concerned about leaving pin marks in the fabric, I needn’t have. They either did not show or steamed out. The machine stitch line did remain visable, if you get close enough, so if you can avoid unpicking it is better. And talking of steam, every seam looked stretched and contorted after it was sewn, a quick press with the steam iron, I use a silk organza pressing cloth on all of my projects, and everything went back in to shape.
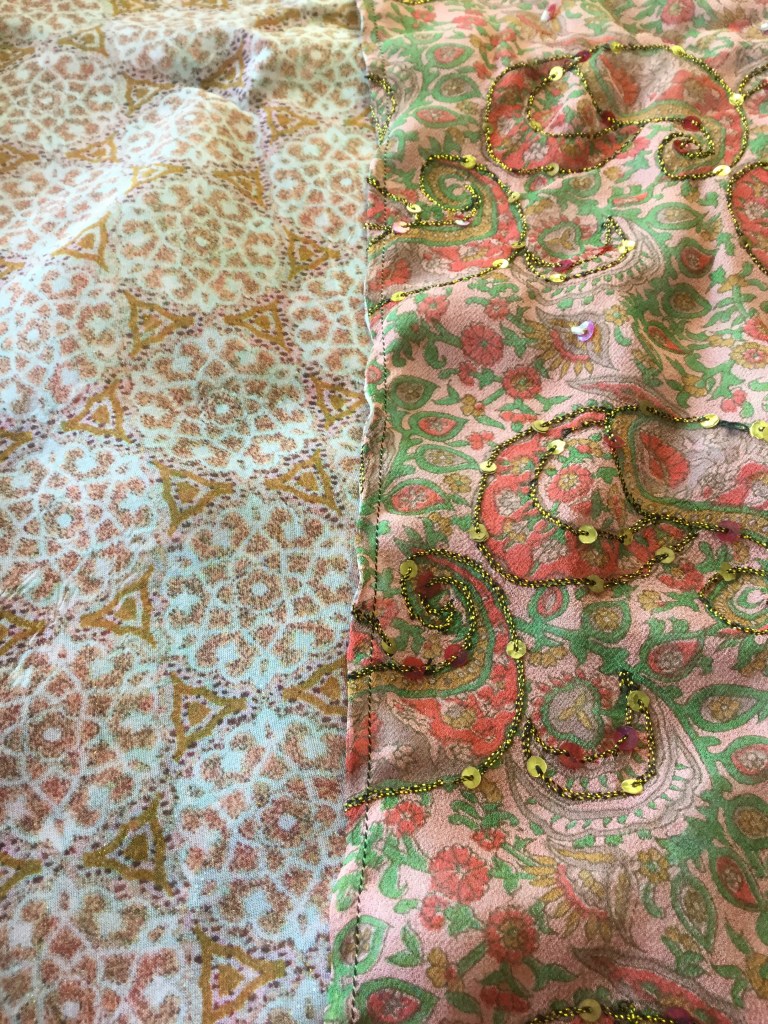

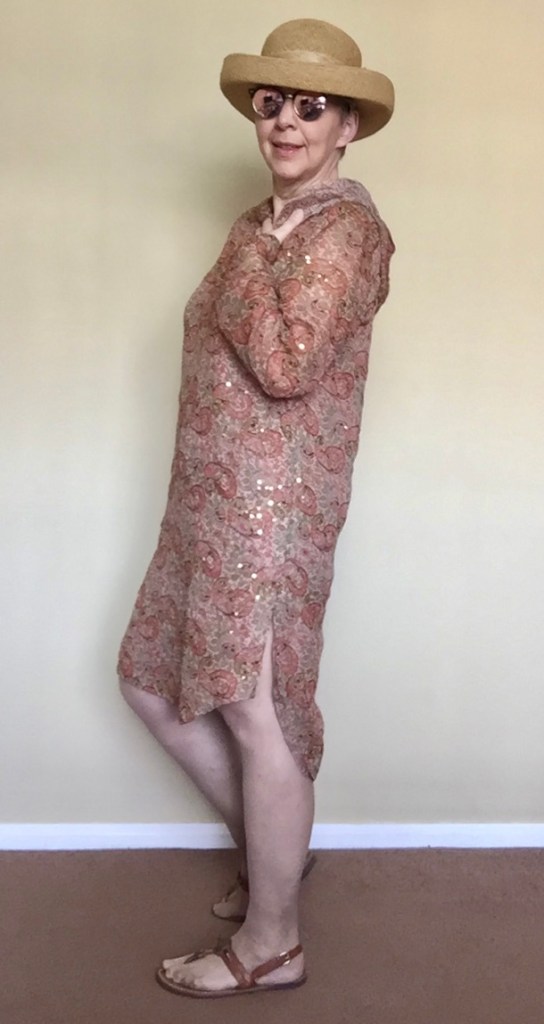
I have made French seams before so was not overly worried about the technique, but having only a 1cm seam allowance instead of a standard 1.5cm did concern me a bit. I needn’t have worried. I used the straight stitch plate with the special feed dogs on my Juki NX7 and it was foolproof. I was able to sew 5mm from the edge of the fabric and not once did the fabric get eaten by the machine. This took a lot of pressure off when creating the French seams in the hood and especially the sleeves. As I have not lined the sleeves with the second chiffon, all the seams are visable so needed to be neat and tidy. Talking of the sleeves, did keeping the original 2 piece sleeve work? I think they did, but will let you decide in a mo.
As for my butt seam, I avoided giggling the first time I mentioned them but failed this time, did they work? I am over the moon with them. They have joined the fabric together in a way that appears invisible. There is no bulk at the seam and the only differenc between the seam and the rest of the garment is that the fabric feels more stable. All in all big smiles from me.
There is one thing missing in the finished garment from my original idea, I decided not to add pockets. The fabric is delicate and even though there are 2 layers I was worried that I could tear the dress if I got a bit too enthusiastic thrusting my hands in them. I also have discovered that I don’t own a belt, so am unable to show you how the dress would look if belted. I know exactly what I want and after this current situation is over I am going to go to my local charity shops and see if I can hunt one down.
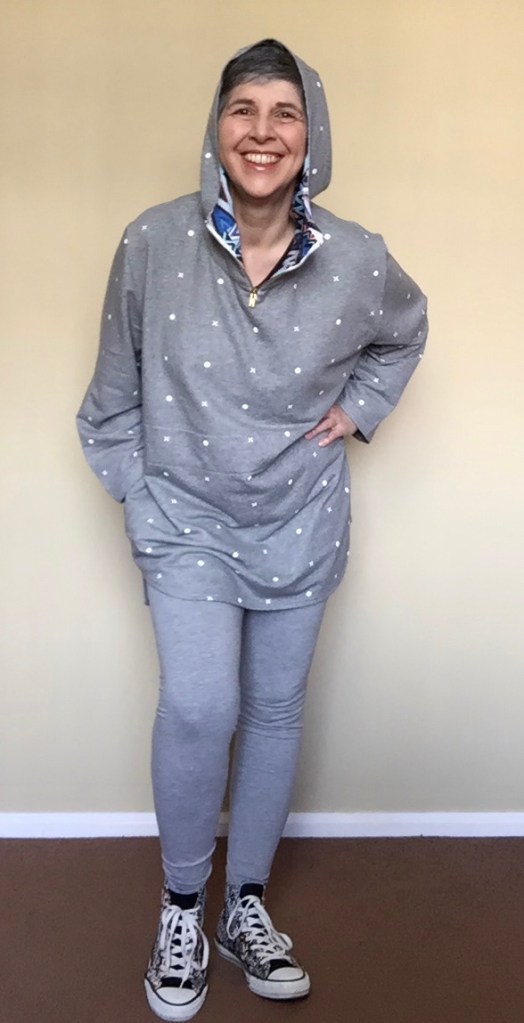
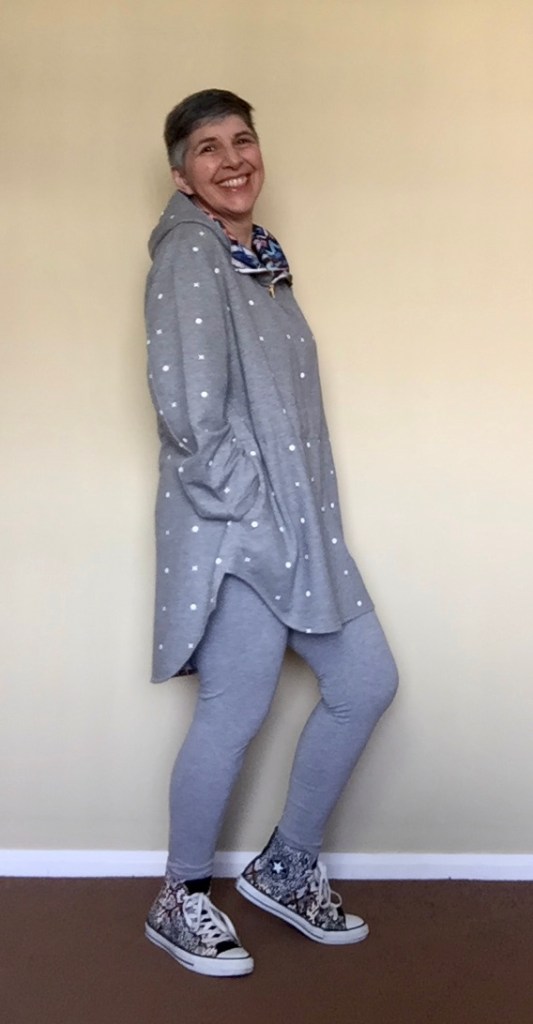
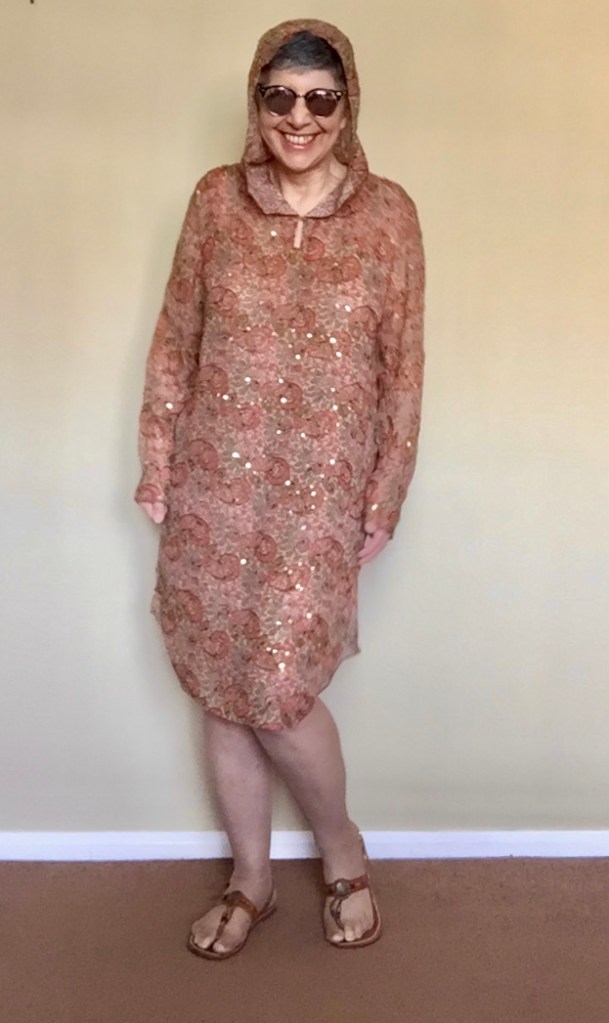
So here it is and I hope you like my Hudson Coat Hooded Silk Summer Dress.
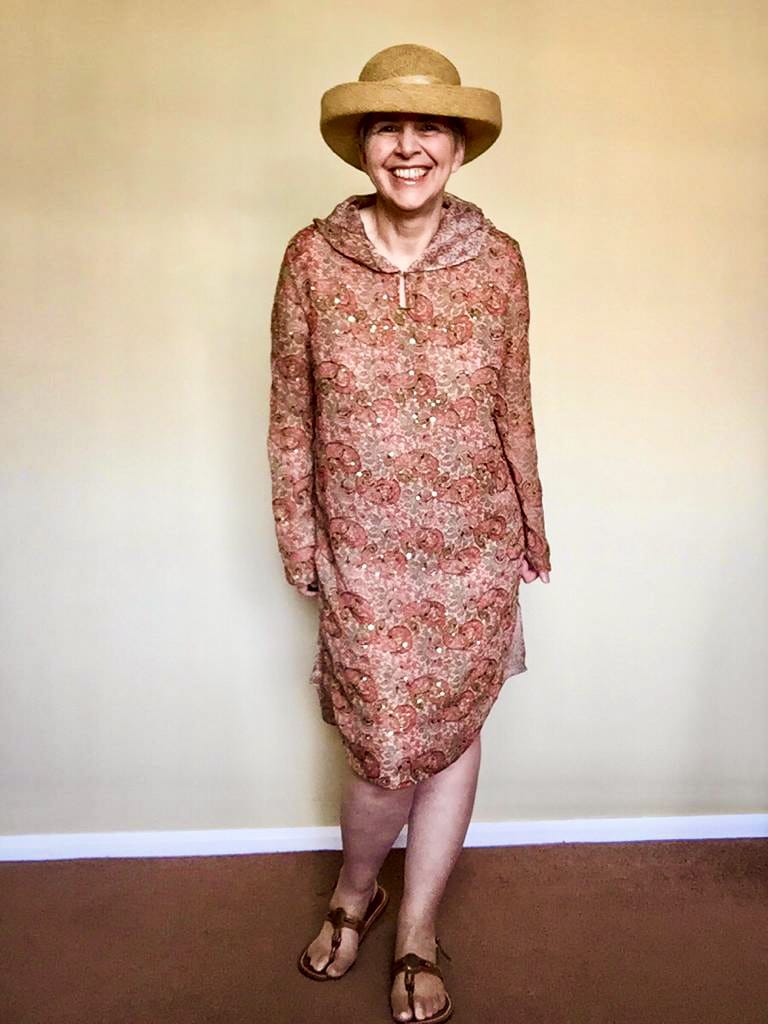

I think that the fact that I have made a hoodie and and dress from a coat pattern is a testament to how good and adaptable the patterns are in Wendy’s book. This has been a feature in all of her books, where Wendy has taken one pattern and shown different ways you can make it your own. I just may have possibly taken it one stage further this time. I have also decided to amend how I refer to Wendy. No longer will she be the person that I credit for my love of stretch fabrics, she is now the person I credit for my love of trying new and supposedly tricky fabrics.

Love it. Always accidentally opt for tricky fabrics in an ignorance is bliss way. Two great garments- fabulous
LikeLike
Thank you that is so kind of you to say. I did that in my early years when there was no Google to find out how to work with it. Enjoying it more now there is so much help and advice to follow.
LikeLike
Ah Maria, I absolutely love what you’ve done here! I find it so satisfying when makes take my patterns and run with them in directions I never imagined. I never ever would’ve imagined that coat as a hooded chiffon dress but you’ve totally made it work. Love the toile too. Thanks for adding to my “want to sew” list…..!!!
LikeLike
Seriously beautiful dress
LikeLike
Thank you so much. The fabric really makes it I think.
LikeLike